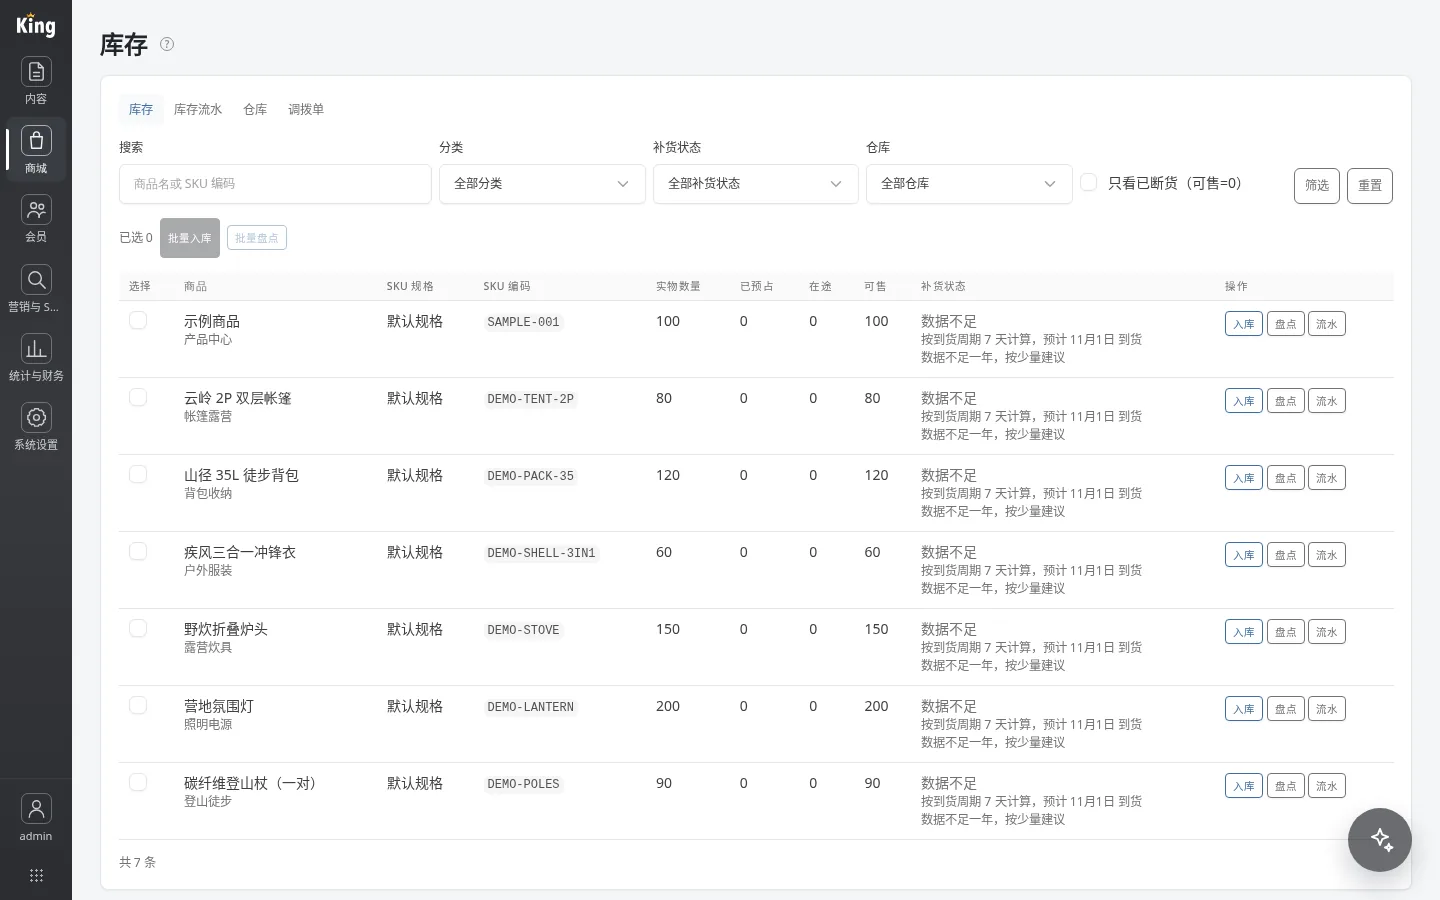
Multiple warehouses is not just about adding a warehouse name to inventory: which warehouse and location the goods are in, how transfers work, and how to scan during stocktakes are all separate processes. This article explains this based on actual operations on the backend "Inventory" page.
1. Enabling and the default warehouse
"Multiple warehouses" is an independent module and is disabled by default. Go to "System Settings → Modules & Themes → Module Management" and enable it; then open "Inventory" to see four new tabs. It depends on the product module; when first enabled, the system already has a "Default Warehouse", and existing stock quantities remain unchanged and are recorded under the default warehouse.
When adding a warehouse, fill in a name and priority; the smaller the number, the higher the priority. During order outbound, warehouse selection follows the default warehouse, priority, and creation order. The default warehouse cannot be disabled; the system keeps at least one enabled warehouse. Warehouses have no delete entry; when not in use, simply disable them.
2. Locations and barcode labels
Location codes are unique within a warehouse (for example, A-01-03), and leading and trailing spaces are automatically removed; locations that already have stock cannot be disabled. Locations can be added manually or "batch generated": fill in the storage zone, rack number start and end, level start and end, and separator, then preview before confirming; existing codes are skipped.
After selecting locations, you can "Print Labels"; each location generates a Code128 barcode and code. Print from the browser and stick them on the shelves. Later, during scan-to-move, scan stocktake, and scan picking, scanning an enabled location code in the current warehouse selects that location directly instead of querying it as a product.
3. Transfer orders: the only correct way to move across warehouses
"Transfer Orders" are used to move inventory across warehouses and require at least two enabled warehouses. When creating one, select the source and destination warehouses (they must be different), then add lines: enter by barcode scanner or manually select the SKU and fill in the quantity; the same SKU can appear only once, the quantity must be an integer greater than 0, and there must be at least one line.
The statuses are: Draft → In Transit → Received; Draft or In Transit can be canceled. On dispatch, the system checks available stock in the source warehouse, deducts it, and changes the order to "In Transit"; on receipt, select the destination location line by line. If none is selected, the SKU's most recent location in the destination warehouse is used; after confirmation, the quantity is counted into the destination warehouse. Canceling an in-transit order returns the deducted stock to the source warehouse; Received and Canceled orders cannot be operated further.
4. Use scanning for same-warehouse moves
"Scan to Move" only handles location moves within the same warehouse. First select the warehouse, then scan or manually enter an SKU/barcode to query; the page lists quantities by location; batches with batch numbers and expiry dates are also displayed. When moving, select the source and destination locations and fill in the quantity: the quantity must be an integer greater than 0, the two locations cannot be the same, and the warehouse must have at least two enabled locations. For cross-warehouse moves, use transfer orders; do not force it with Scan to Move.
Camera scanning is available only under HTTPS; if the camera is unavailable, expand "Advanced" and manually enter the SKU or barcode to query; this does not affect subsequent operations.
5. Stocktake, picking, and purchase receiving
"Scan Stocktake": scanning a location label directly locates the location; after an order enters "Fulfilling", "Pick" on the detail page groups by location: first scan the location label to locate the group, then scan product barcodes item by item; when enough quantity has been scanned, that line is checked. After enabling multiple warehouses and inventory management, "Receiving Warehouse" appears in the purchase order's "Arrival Receiving" area; after selecting a warehouse, you can continue to select a location or "No Location", and the confirmed received quantity is counted into the selected warehouse.
6. Common pitfalls
- Is stock still there after a warehouse is disabled: Yes, the data is retained; display resumes after re-enabling;
- Will disabling the multiple warehouse module lose data: No, warehouse, location, and stock data are retained; labels and filters are hidden;
- Can the quantity be changed directly after a transfer is dispatched: No, once dispatched it can only be received or canceled;
- Scanning camera will not open: Check whether it is HTTPS, or use manual input;
- Location code cannot be scanned: Confirm that you are scanning an enabled location in the current warehouse; labels from other warehouses will not match.
Summary
The key to multiple warehouses is separating "warehouse" and "location": cross-warehouse moves use transfer orders, same-warehouse moves use scan-to-move, and stocktake and picking rely on location labels for positioning. Plan the default warehouse, priorities, and location codes first, and the later scanning workflows will run smoothly.